
Deprecation of Microsoft Defender Application Guard: Transitioning to Enhanced Security Solutions
March 21, 2025Azure Update – 21st March 2025
March 22, 2025
<
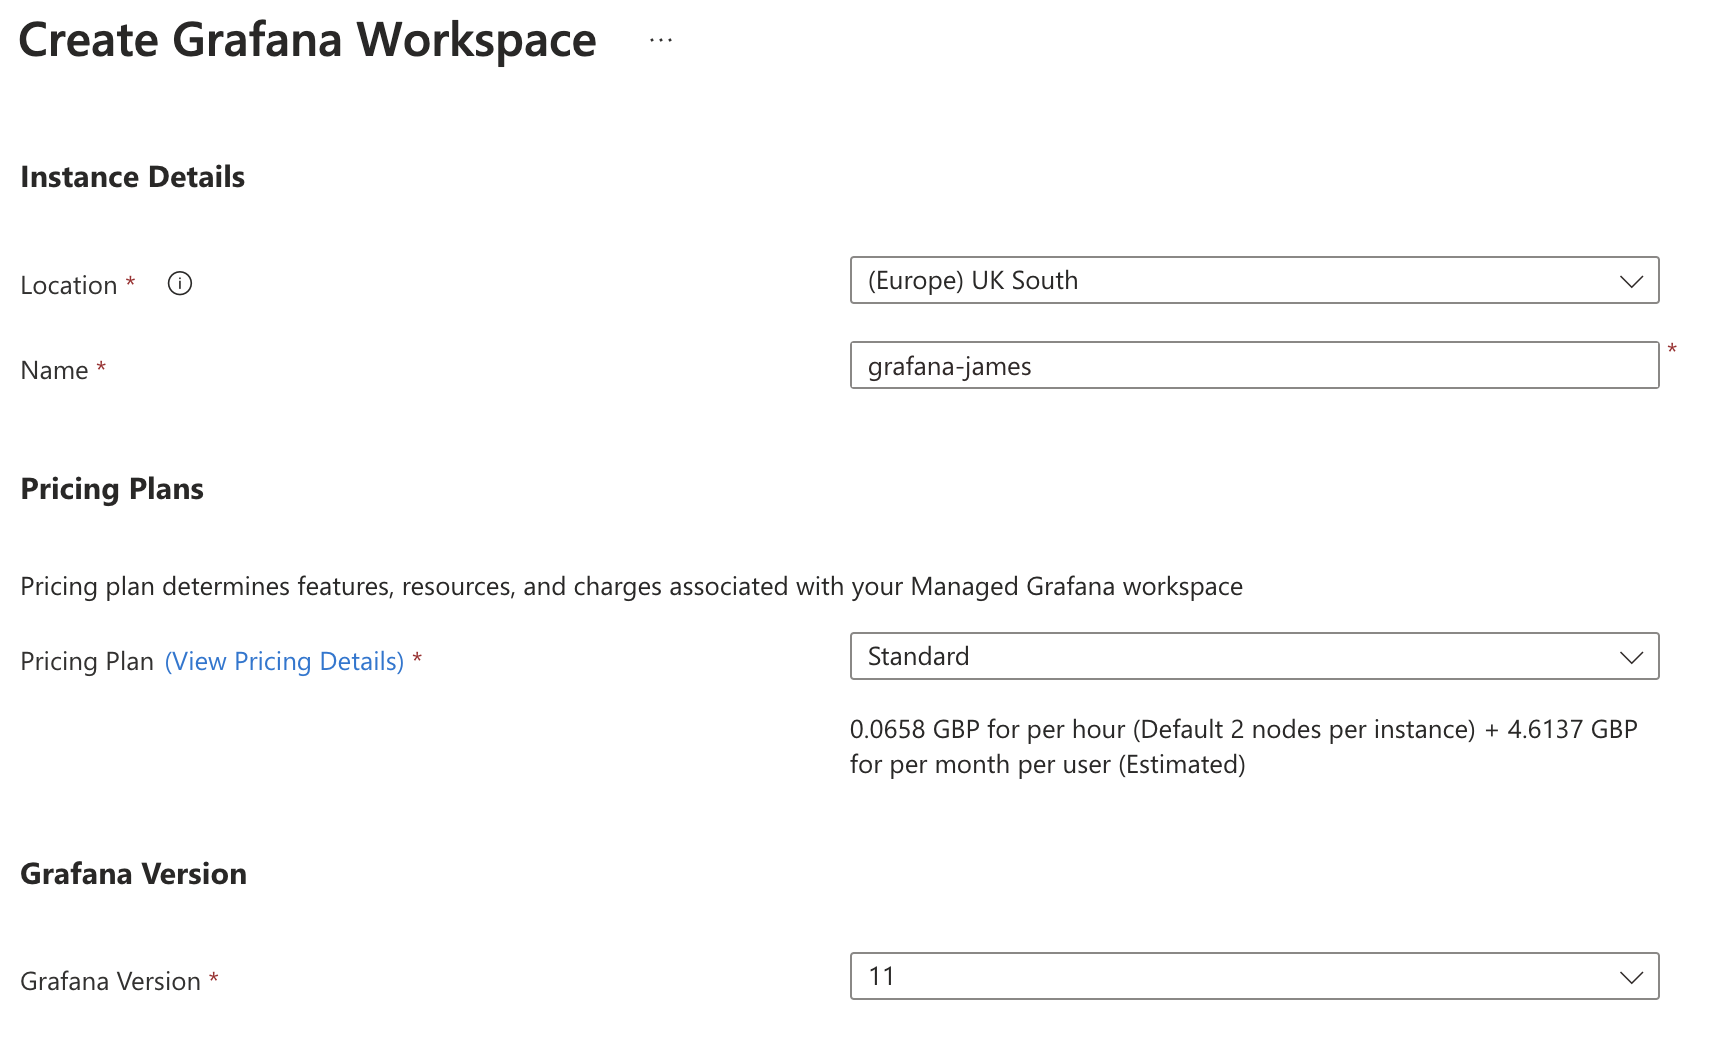
Set the location and name of the resource. The name must be unique, as it will be used to generate a URL. You can also set the pricing plan and Grafana Version you want.
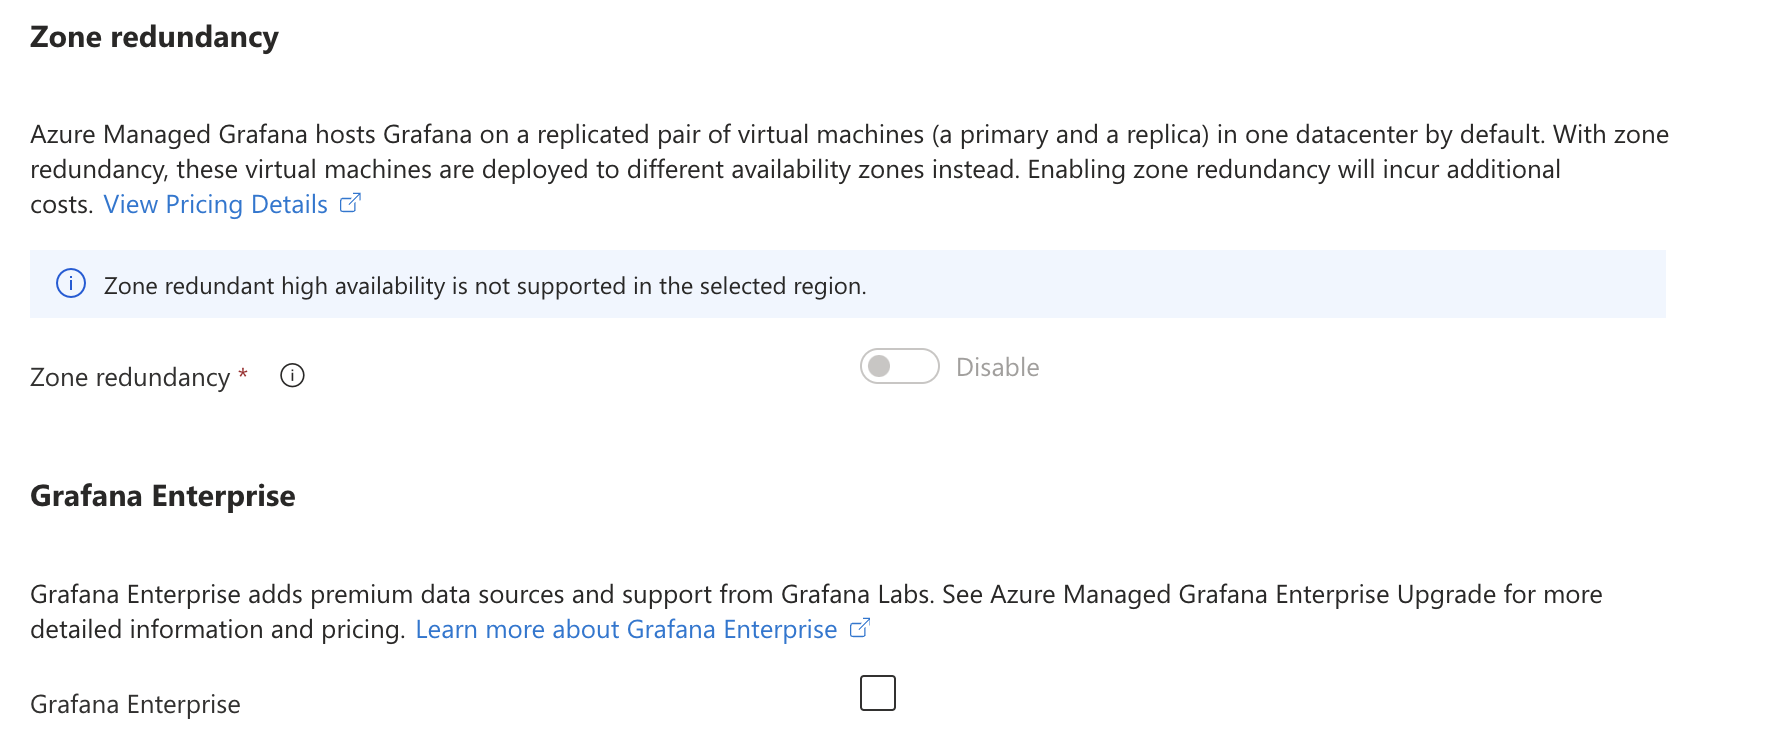
Further down, you can enable Zone redundancy, but this is only available in supported regions. If you are eligible, you can also allow Grafana Enterprise.
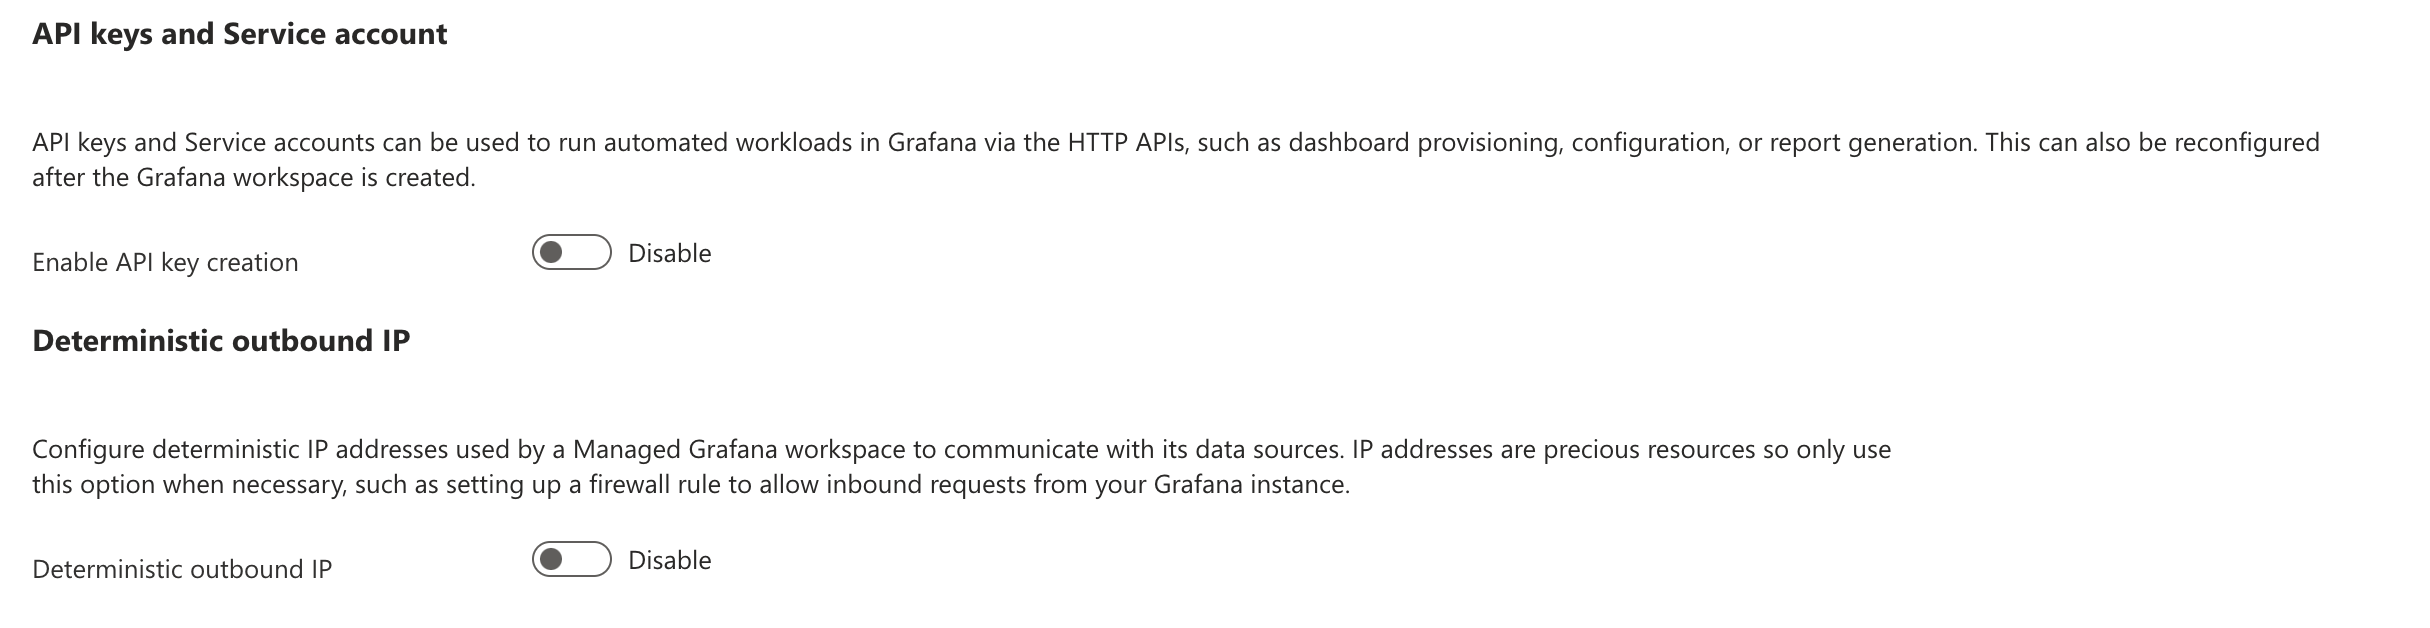
You can enable the API key on the Advanced tab, which is highly desirable when integrating with Grafana. You can also enable Deterministic outbound IP to provide your external data source with the IP address of the incoming source.
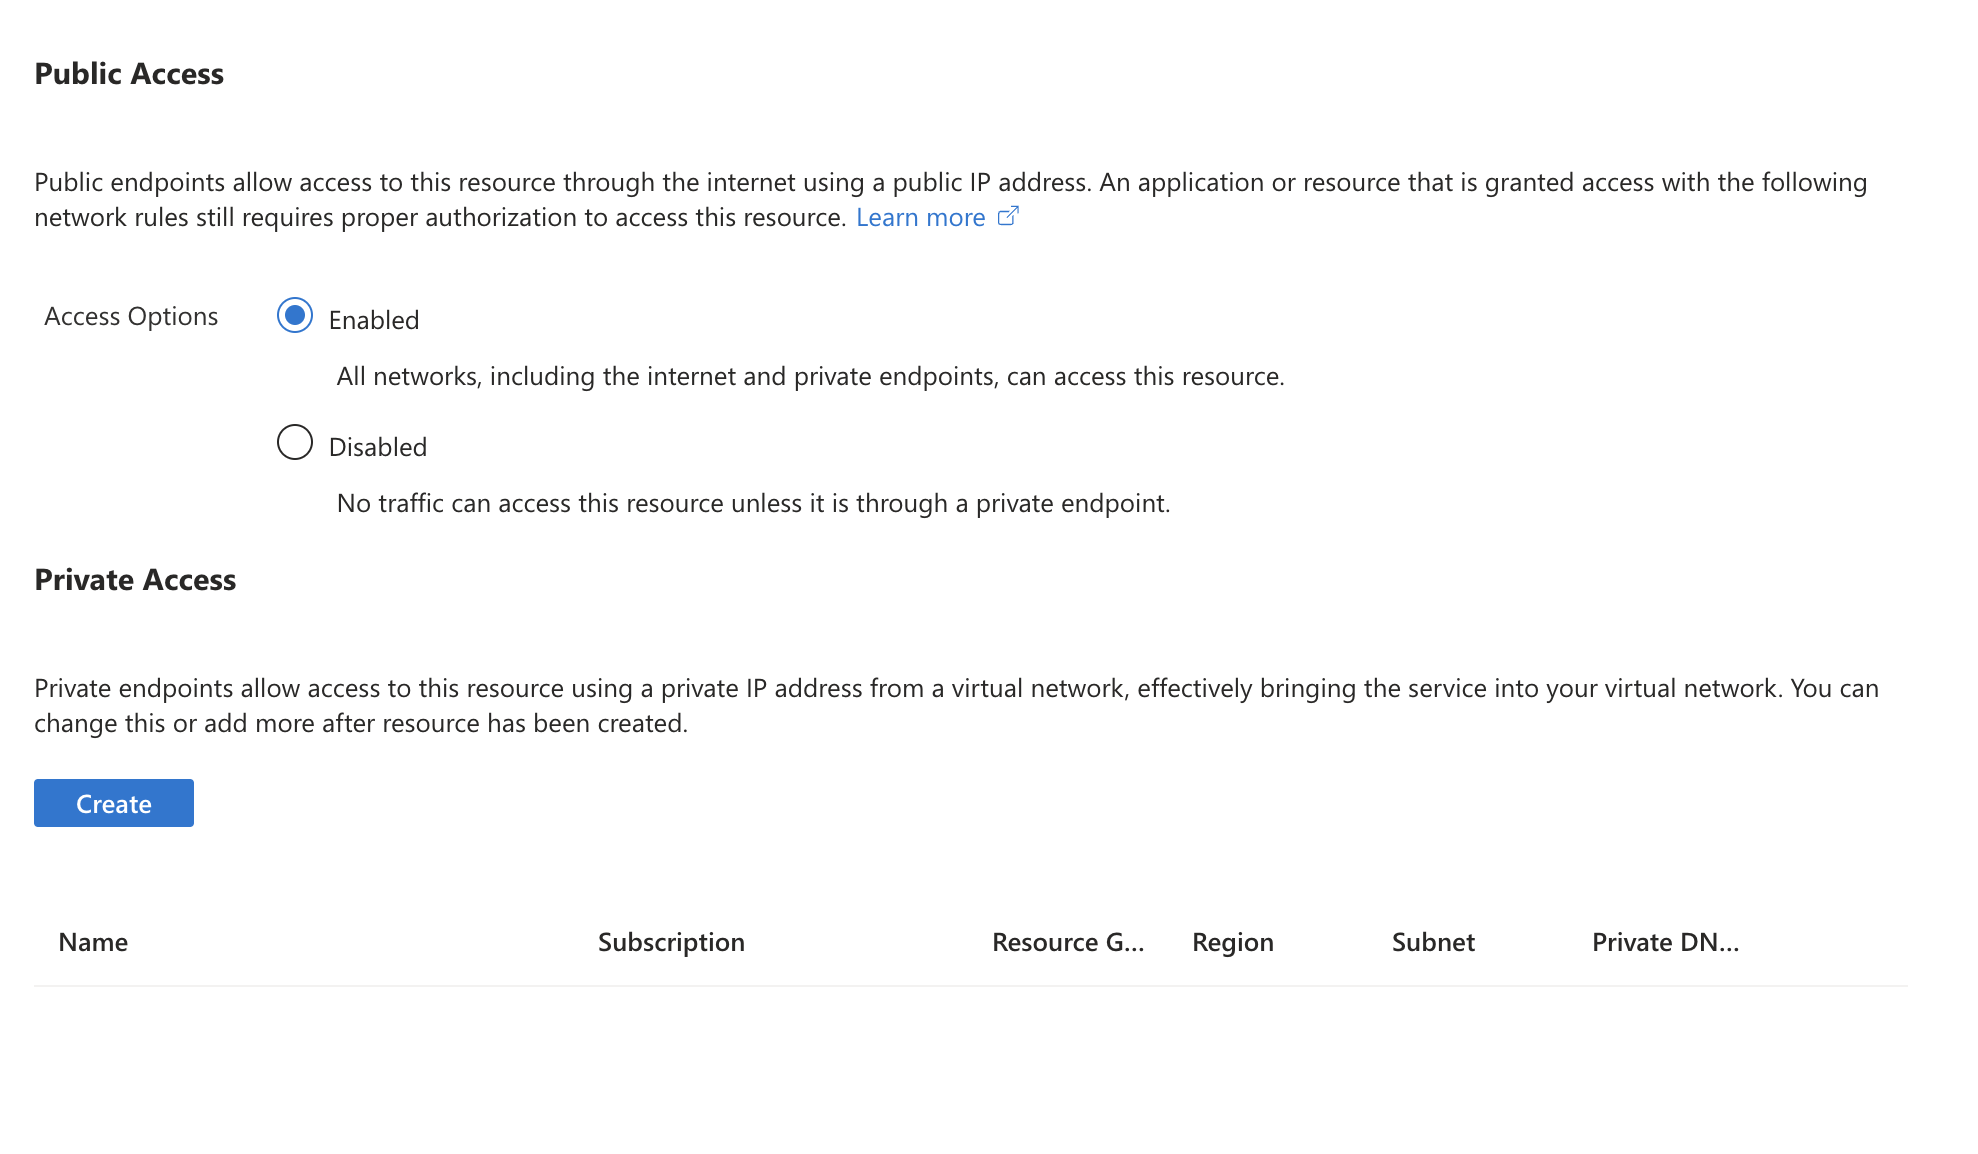
Within the Network tab, you can enable/disable public access and configure private access using private endpoints.
Once you are ready, select Create to start creating the resource.
Access the Grafana Instance
Once the resource is ready, open it. From the Overview page, you will see the endpoint value. This is the URL you can use to access the Grafana instance. Click it.

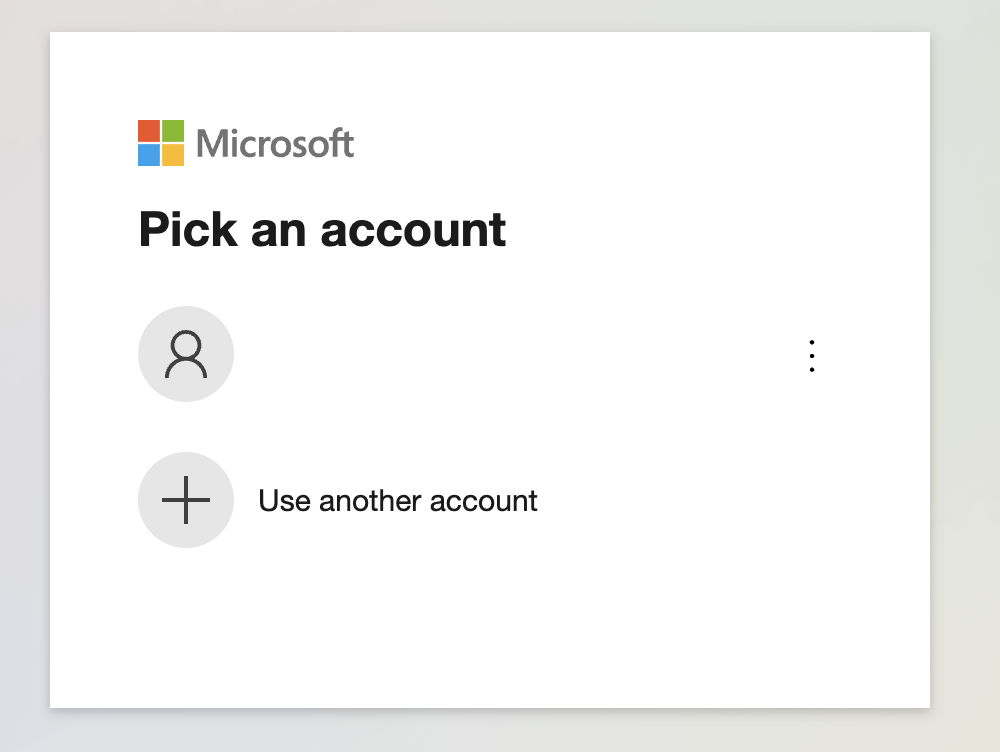
You will be redirected to the Microsoft authentication page. As the Azure Managed Instance utilises EntraID you authenticate and authroise access, you will need to use the creators accounts to authenticate.
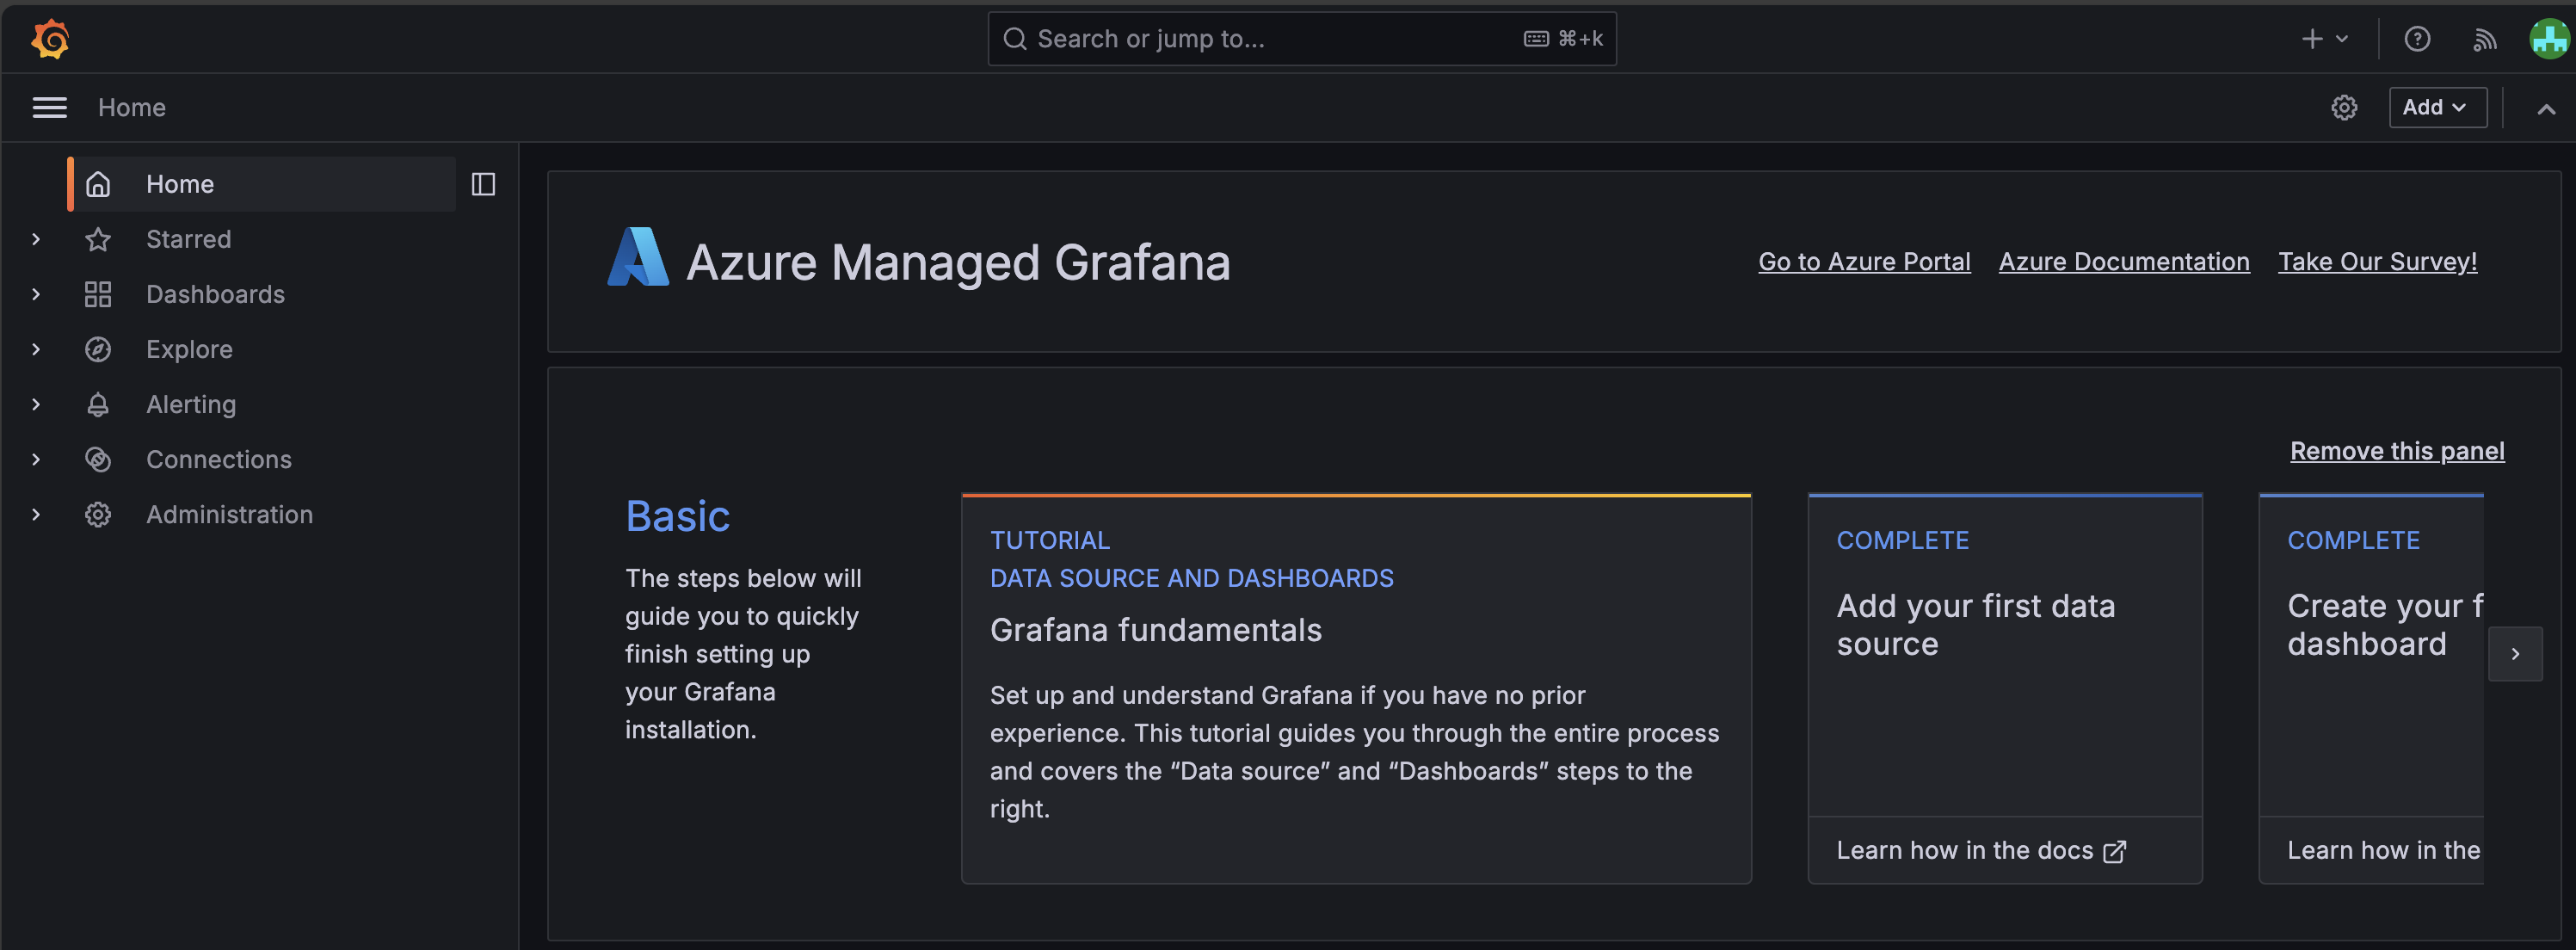
Once authenticated, you can start configuring and utilising your Grafana instance.
]]>